On-premises data gateway is a useful way to connect to On-Prem data sources (File Share, Sql Servers), installing and configuring will cost nothing, while using it in your apps will have some cost of course.
The concept is, you install an agent (windows service) on a local server within your on-prem, this agent then connects to Azure, data gateway agent requires only outbound connections, meaning the agent will call different Azure endpoints on TCP ports 443, 5671, 5672, and 9350-9354, there is no inbound connection required, for more detailed information visit this link
Adjust communication settings for the on-premises data gateway
To install On-Premises data gatey, first you need to download the latest version from here, run the installtion file and follow the instructions, once the installation is done, the wizard will start to setup and configure your data gateway as the following
You will be asked for an email addess, this email addess must be your organization’s email addess, it will not work with personal accounts, and this account must have access to azure as you will see in a later step.

After signing in, you will be asked to register a new gateway, or to migrate or restore an existing one, this can be useful if the machine previously ran this gateway, to be replaced with the new one where you are configuring the data gateway, then your apps using these data gateway continue to work without any reconfiguration, if this is your first setup, select register a new gateway.

Provide a name and a recovery key for this gateway, if you already have an existing cluster, you can add this gateway to it, this is useful for organizations which would like to ensure the connectivity for their apps to On-Prem, by adding clustered gateways that are managed and controlled by a Failover Cluster Manager.
It is really important to pay attention to the region, data gateways will be available ONLY for the selected region, meaning that your apps in other regions will not be able to use the gateway, this cannot be changed later.

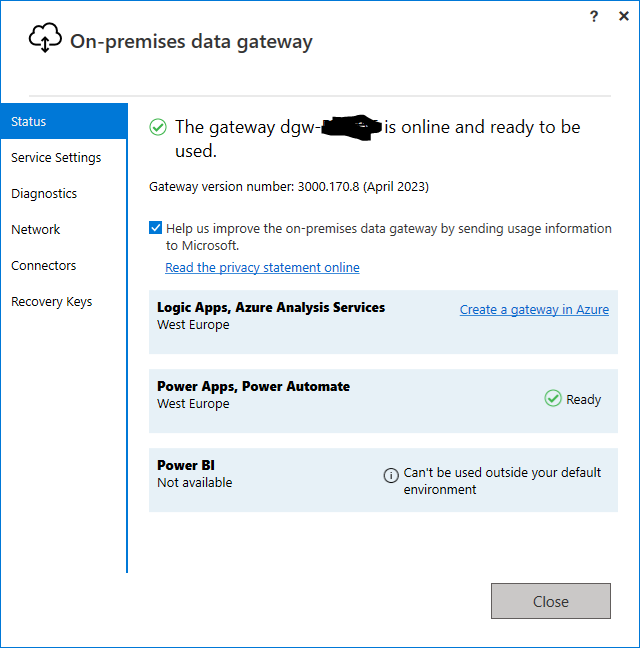
Everything is done, and your gateway is ready, pay attention that your logic apps, Power Apps and Power Automate that are located in the region you selected will be able to use this gateway, in my case it’s West Europe.

You may wonder, where this registration was created, you can go to the following site:
https://admin.powerplatform.microsoft.com/

Now, go to Azure Portal, login with the same account you used to register you gateway, and create a new resource (remember to give access to your subscription), in the search box, enter On-Premises Data Gateway, then enter the required information.
Note that available installation names will not be listed until the region is selected, the region must match the region selected during the configuration of the data gateway agent.

Click Review + Create to review and create your On-Prem data gateway, once it is done, you can start using it with your Logic Apps (that are created within West Europe region).
This is just a quick guide to start working with On-Premises Data Gateway, for more detailed information you can visit Install an on-premises data gateway | Microsoft Learn
You can also continue working with Access On-Prem files from your logic app (On-Premises Data gateway)
Leave a Reply